Product Description
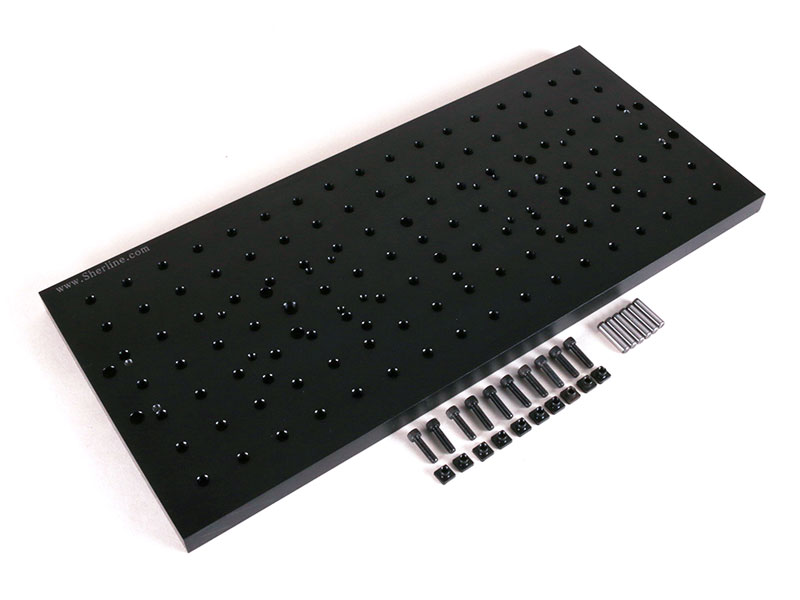
These tooling plates are designed to be mounted to the
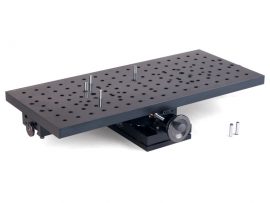
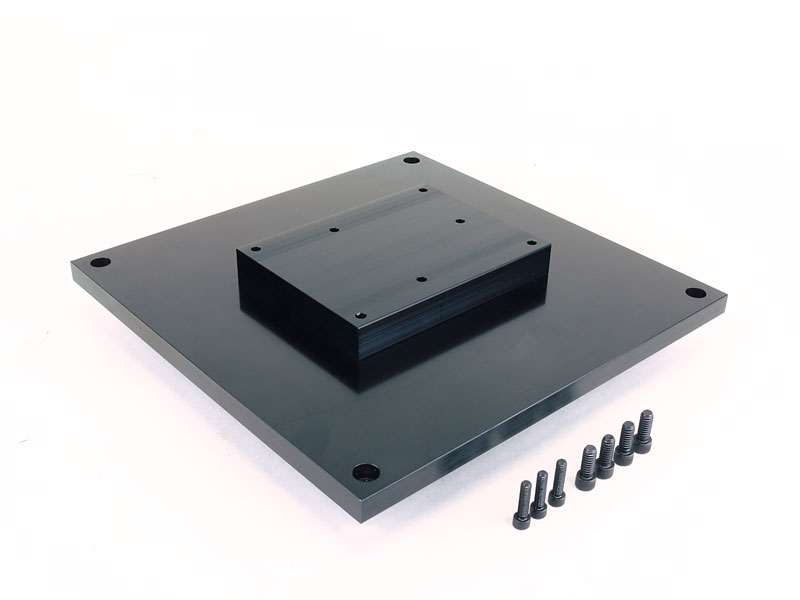
Sherline 4″ CNC Rotary table to hold parts that are being laser scanned. Each plate has a pattern of 10-32 threaded holes for use in holding fixtures to align parts for 3D laser scanning. A series of concentric circles are also machined into the face of the plate to aid in visual centering of the parts to be scanned. An access hole is provided that should be aligned with the oiler hole on the surface of the rotary table for lubrication. On the bottom of the table, an alignment protrusion is provided that helps center the plate on the counter-bored hole in the center of the rotary table. Four 10-32 socket head cap screws and T-nuts are provided with each plate for securing it to the T-slots on the rotary table’s surface. The aluminum plates have a tough black anodized finish.
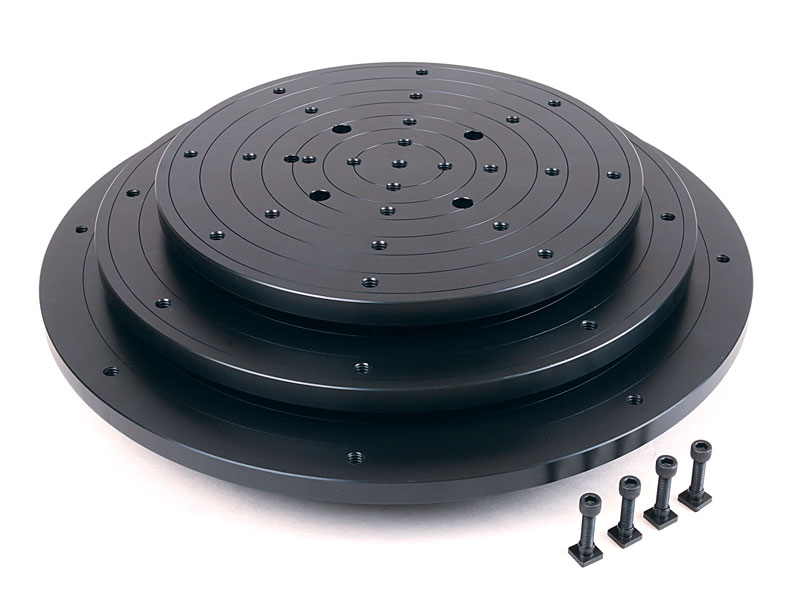
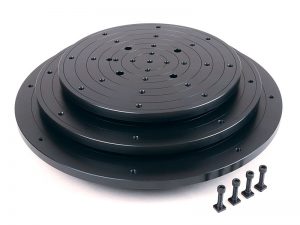 All three plates are shown here in one photo as a means of comparison. They come in sizes 8″, 10″, and 12″ in diameter. All are designed to be used on Sherline 4″ Rotary Tables.
Notes on the Use of the Plates

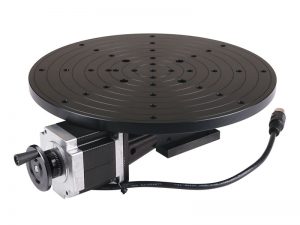
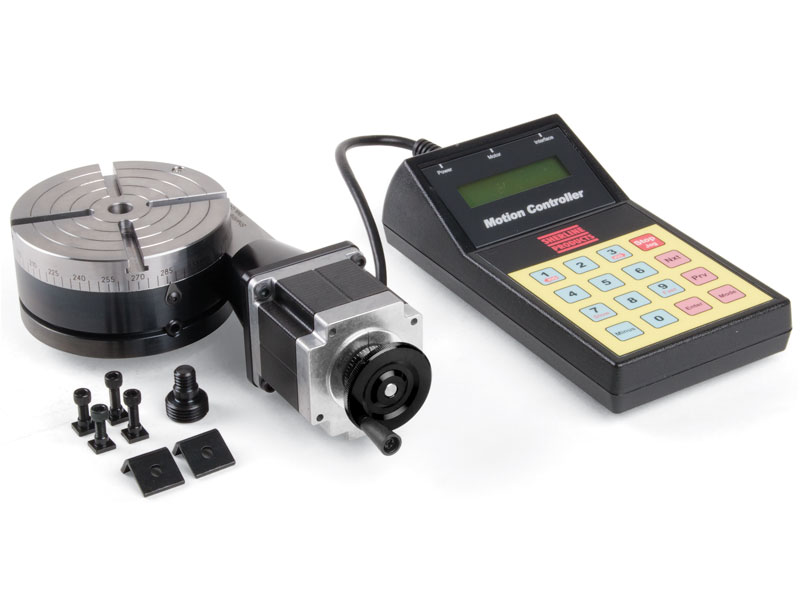
A 10″ diameter scanning plate is shown attached to a CNC version of the Sherline 4″ rotary table (rotary table purchased separately).
These plates are not intended for machining operations. A radial force at the outer diameter of the plate will exert more force on the rotary table worm, and worm gear for which the 4″ rotary table was designed. This plate was designed for laser scanning ONLY. Because the scanning plate is much larger than our 4″ rotary table, all parts that are mounted on the plate for scanning must be centered on the plate. Centering the part will locate the weight load in the middle of the rotary table.
Videos Available
Click on the Video tab above to view the scanning plates in operation.
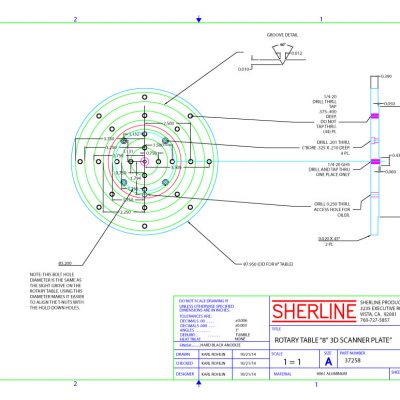
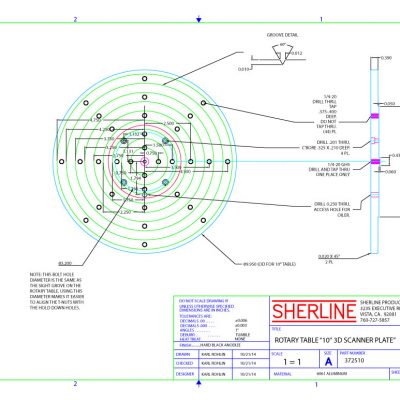
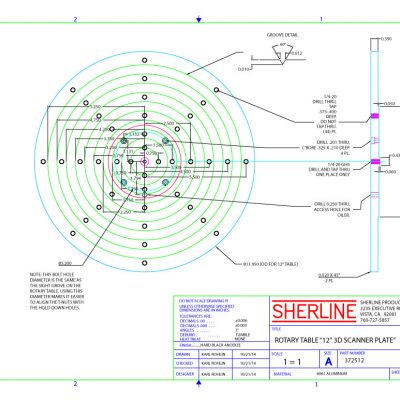
Hole dimensions and locations on our scanner plates
Click on the images below for a larger view.
|

The improper use of machine tools and their accessories can result in serious injury. Before using this tool, thoroughly read the instructions and make sure you understand its proper and safe use.
|

Always wear safety glasses when operating machine tools.
|
Download PDF 3726-LAZ Instructions

Click the P/Ns below to download a zipped version of the IGS 3D CAD file. You will need to extract the zip file before viewing the IGS file.
3726LAZ 8″ Scanning Plate 3D IGS Model
3727LAZ 10″ Scanning Plate 3D IGS Model
3728LAZ 12″ Scanning Plate 3D IGS Model
You need an IGS viewer to view .igs files. CLICK HERE to download a FREE IGS viewer.
Shipping
We do not charge a flat rate for shipping because of the variations in weight for our products. Instead, we charge you what the shipping company charges us. Our website uses a shipping calculator based on the daily rates for USPS and UPS based on the weight and destination of the shipment. You can also have us use your UPS/FedEx account number to charge your shipping. Just enter it in the appropriate box on the checkout page.
Domestic orders are shipped Monday – Friday. Expedited orders must be placed by 9 am PST to ship the same day.
Orders shipping ground have a processing time of 7 working days for domestic orders and 14 working days for international orders. CLICK HERE for more information on our shipping and order policies.
Returns
Most merchandise can be returned within 30 days of the purchase date. A refund will be issued to the original form of payment at the original selling price. View our complete return policy and/or start your return online here.
 All three plates are shown here in one photo as a means of comparison. They come in sizes 8″, 10″, and 12″ in diameter. All are designed to be used on Sherline 4″ Rotary Tables.