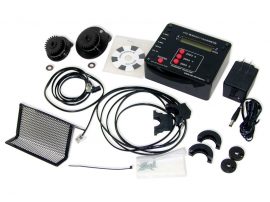
Product Description
Upgraded DRO Chip
Beginning August 1st, 2021, all DROs will ship with an upgraded chip. This new chip upgrade allows our Digital Readout to function with our ball screw machines as well as our standard leadscrew machines. We also programmed some upgrades based on customer feedback, like using Metric on Inch machines and using Inch on Metric machines.
The new DRO chip has six different modes to choose from based on the machine type, e.g., mill, lathe, leadscrew, or ball screw, and your preference of either inch or metric display on the DRO.
For more detailed information on setting up the modes for DRO, please see the DRO Mode Instructions.
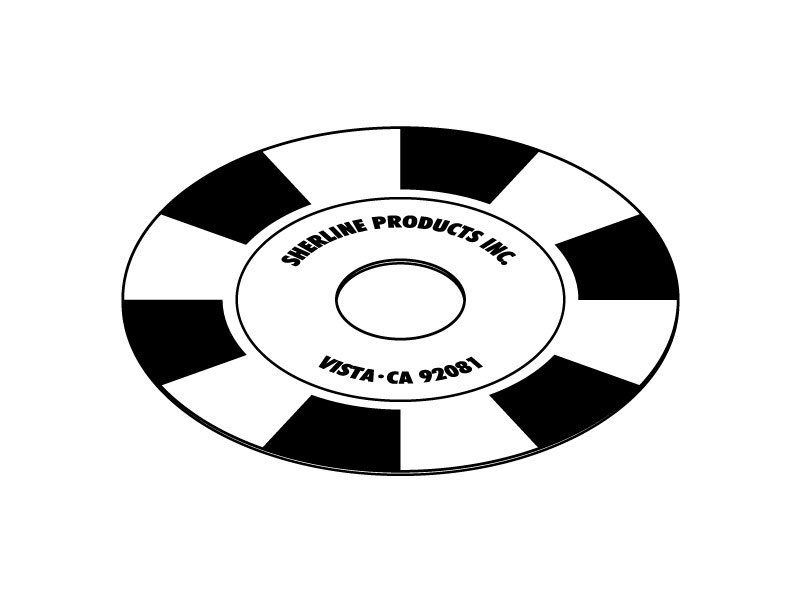
NOTE: You must make sure you have the correct RPM tach sticker for your machine. Use a 6-pulse (P/N 81510) tach sticker if your machine is a leadscrew machine or a 5-pulse tach sticker (P/N P/N 68060) if your machine is a ball screw machine.
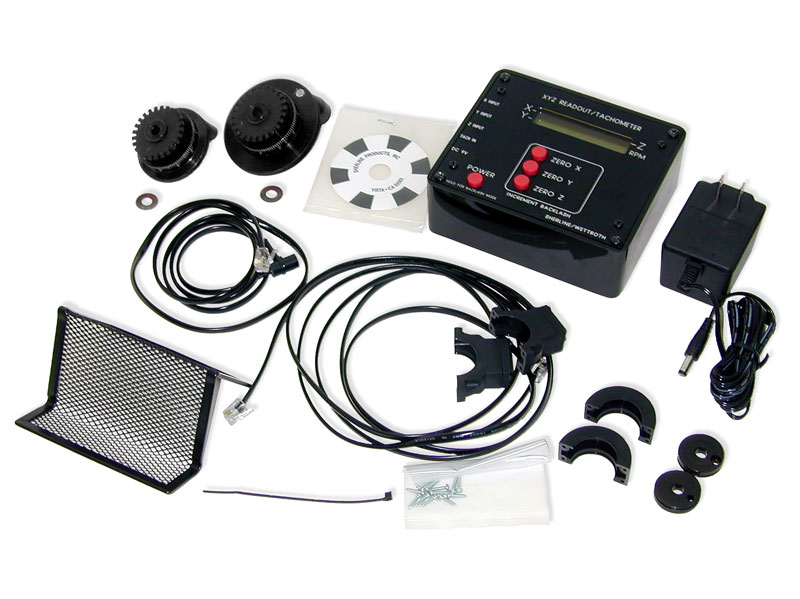
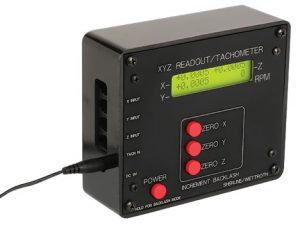 Most full-size shop mills used by machinists are now available with a digital readout. They are also popular on lathes because they make your life as a machinist much easier. Readouts on the X- (crosslide) and Z-axes (leadscrew) can be reset to zero at any time with the push of a button. From there, as you move the 2″ diameter handwheels, you can read the table position to 3-1/2 decimal places (.0005″) on the digital readout. (Metric versions read to .01mm.) You no longer need to count handwheel revolutions or make difficult calculations when cranking in a negative number.
If you use your lathe as a mill with the vertical milling column attachment, you can purchase a 3-axis mill DRO kit. If you add a 2-axis DRO to your lathe now and later purchase a vertical milling column, you can purchase a kit to add the third DRO handwheel and sensor at that time. New lathes can be ordered with the DRO already installed.
As a cost-saving measure, an accommodation has also been made for owners of both a lathe and mill to use a single electronic display box for both machines. The input cables from the lathe can be unplugged, and the readout box transferred from the lathe to the mill and vice versa.
220-240 Volt Electrical Current
The DRO power supply automatically switches from 120V to 240V for countries with 220-240 volt electrical current. You may need to use a wall socket adapter if you use the power supply in a country outside North America.
NOTE: You can order DRO on any new machine as a factory-installed option. The digital readout handwheels replace the standard handwheels that would normally come with the machine. The regular handwheels are not included if you purchase a machine with factory-installed DRO. If you purchase the DRO as a separate option and install it yourself, you will have the stock handwheels left over.

